Spotlight on Art - Sculpture
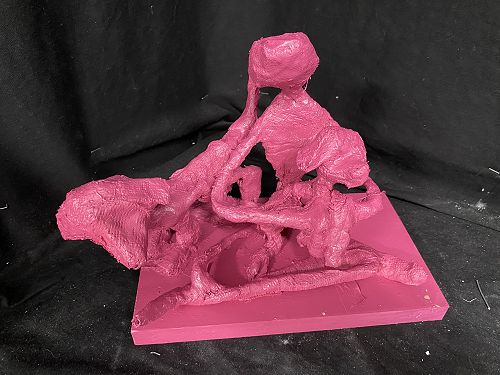
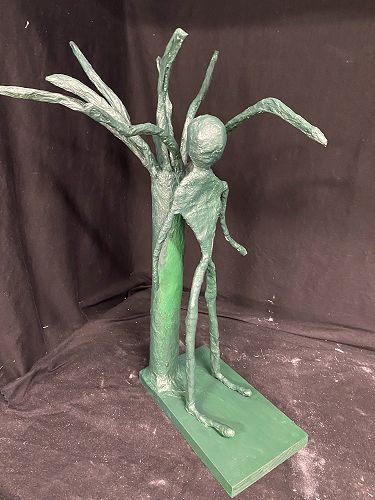
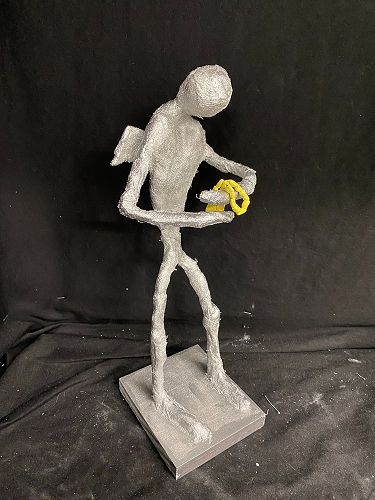
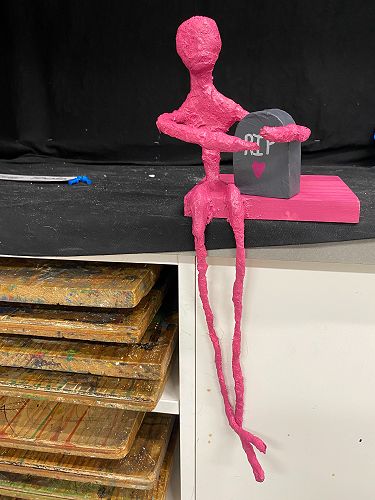
For Art technology my class has been learning about Alberto Giacometti, and been creating sculptures in the style of his art. These are large plaster cast designs of humans with long legs and feet so that they can stand up independently. Giacometti’s first piece of art was of his brother, before he began to work on these plaster cast sculptures. However, the plaster and wire creations started so small that they could fit in a match box. He then moved on to huge two and a half metre sculptures that became famous.
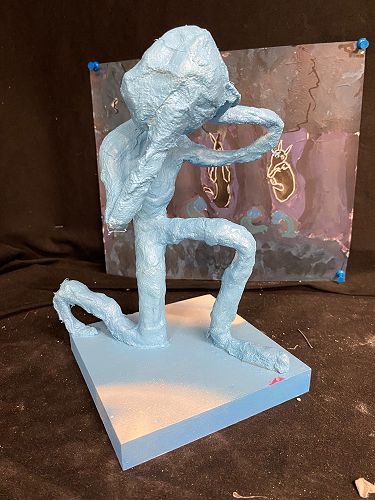
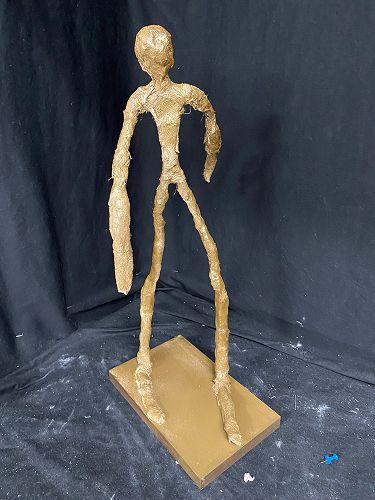
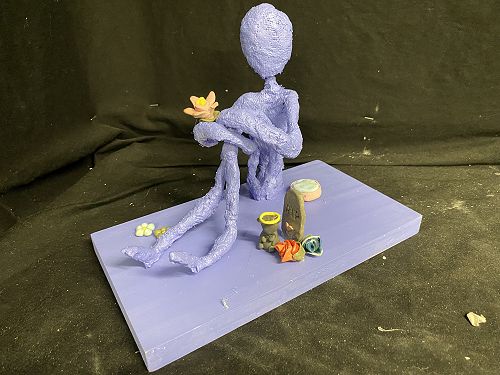
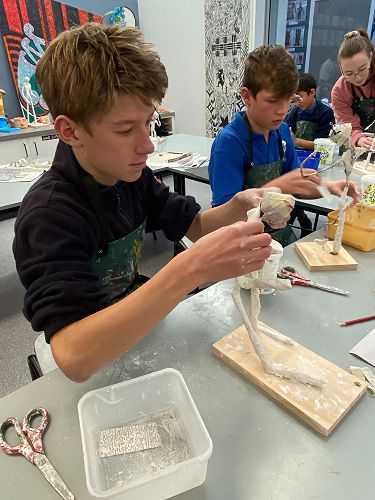
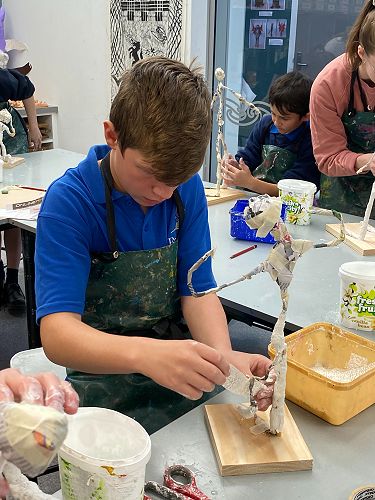
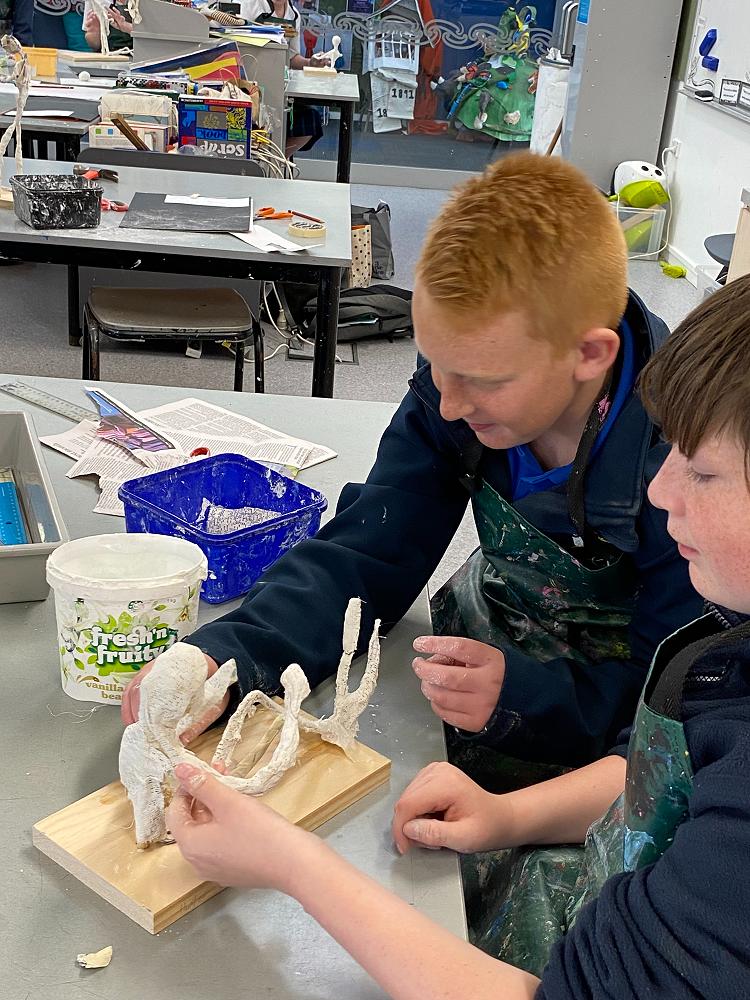
For the first few lessons we learnt lots of fun and interesting facts about Alberto Giacometti that helped us to understand the movement and feeling behind his work. We brainstormed lots of emotions that we could base our sculptures on and once we had decided on one of them we started to fold our wire into human-like shapes. Next we wrapped newspaper around our shapes and taped it into place. Some of us have even made trees or animals to go beside our original human sculptures to make them more personalised and fun. We each had to find a way to use the space around the artwork to convey movement and show emotion. Once we had finished wiring the bodies, we started making the mannequins heads by scrunching up a ball of newspaper and stuffing it into the wire frame. Once that was taped in place we had to shape and fold the paper so that we could get it into a rounded oval. Next we taped it into place and moved on to the next step: hammering.
We measured long sticks against our builds to see what sizes we would need to stabilise them.Then we had them cut for us, ready to attach to our builds. Next we brought out the drill and drilled holes into the wooden base before hammering the sticks in place and taping and plastering them to our sculptures. We worked for ages to perfect this, and had lots of fun while doing so. Once we had covered up all remaining spots, we moved onto brainstorming ideas for our backgrounds. With a spare sheet of paper we experimented with patterns and images, trying to find something that portrayed emotion, and made sense to us and others. Some of us chose to create background images that showed where their artwork was, while others made gradients or mixtures of colours to emphasise the emotion they were trying to recreate.
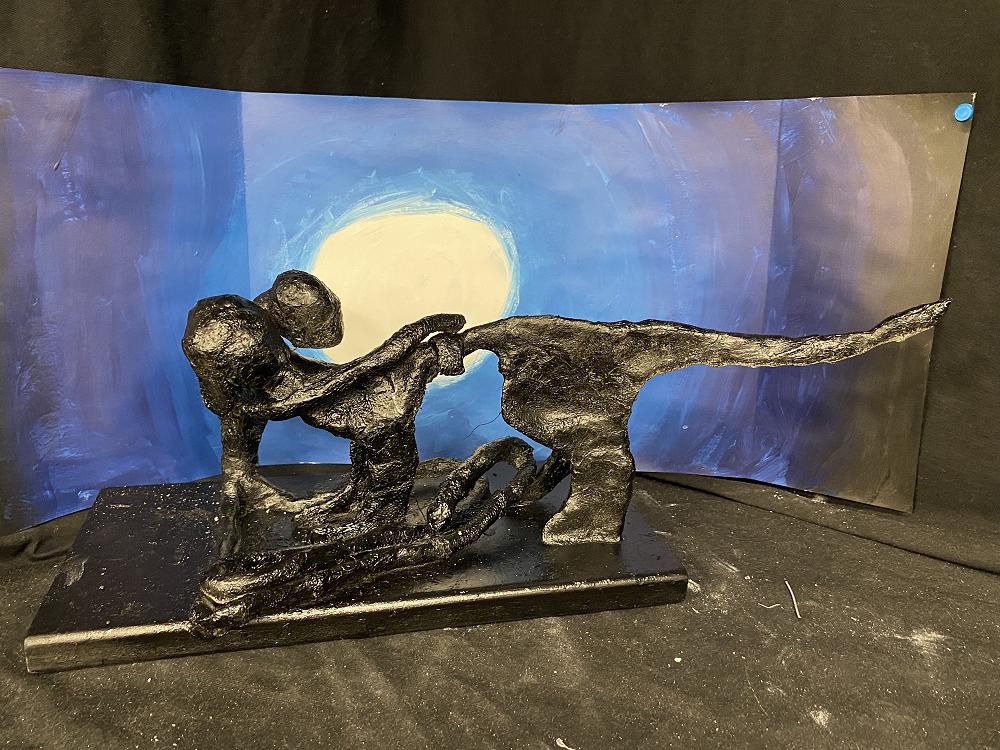
Once we had finished our draft we started to mix our preferred shades of colour. In our chosen colour we began to paint around to outside of our wooden bases, reaching the places that the spray paint couldn't. After we picked out a spray paint colour we went into the spray booth in groups of one or two and started the spray painting. Following this, we drew our design on an official piece of paper, outlining what we wanted to be in our background. Next we mixed acrylic paint into our preferred shades and used blending and shading techniques to paint our fun, functional backgrounds. When we had all finished our backgrounds we were done with our project and all that was left to do was take the official photos.
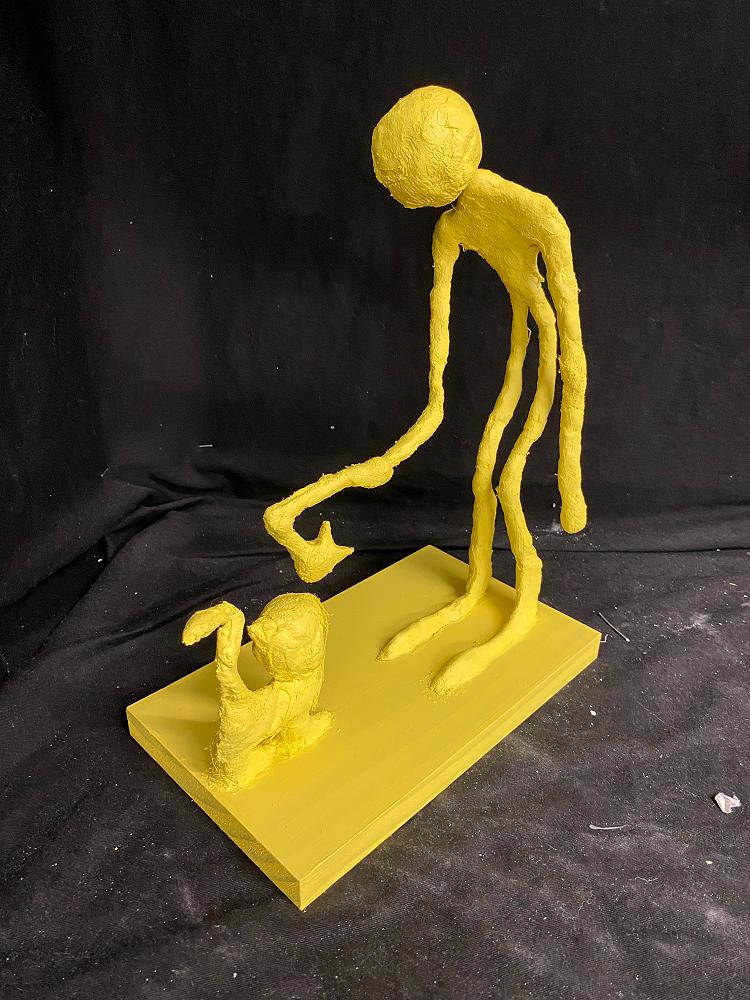
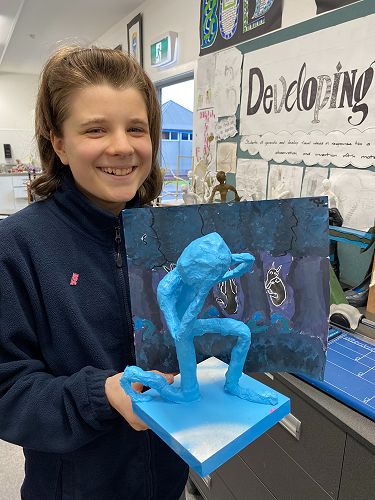
Overall, making the artwork was a fun and interactive experience which we all loved and appreciated doing. I would thoroughly recommend this activity to anyone who loves art. We all learnt lots about how to portray emotions in our artwork, and got the chance to learn and use lots of different artistic techniques. Below this article are some pictures of the artwork that we finished.
By Amelia
Gallery